
Adding multiple pages to your site
Last updated: 2026-08-10
Short version — the free plan gives you one file per site (index.html); adding sub-pages like about.html needs Starter or above. Image and font uploads are a completely separate feature, so they work on the single-file free plan too.
At a glance
- Time needed
- About 5 min
- Plan required
- Starter
- Coding knowledge
- None
- Where to do it
- Editor
Step by step
- 1
Free plan: one file. Starter and up: multiple pages.
Every site starts as a single index.html. The free plan sticks to that one file per site — adding sub-pages like about.html or menu.html opens up on Starter. In the editor's Files panel, adding a file is locked on free and unlocks the moment you're on Starter.
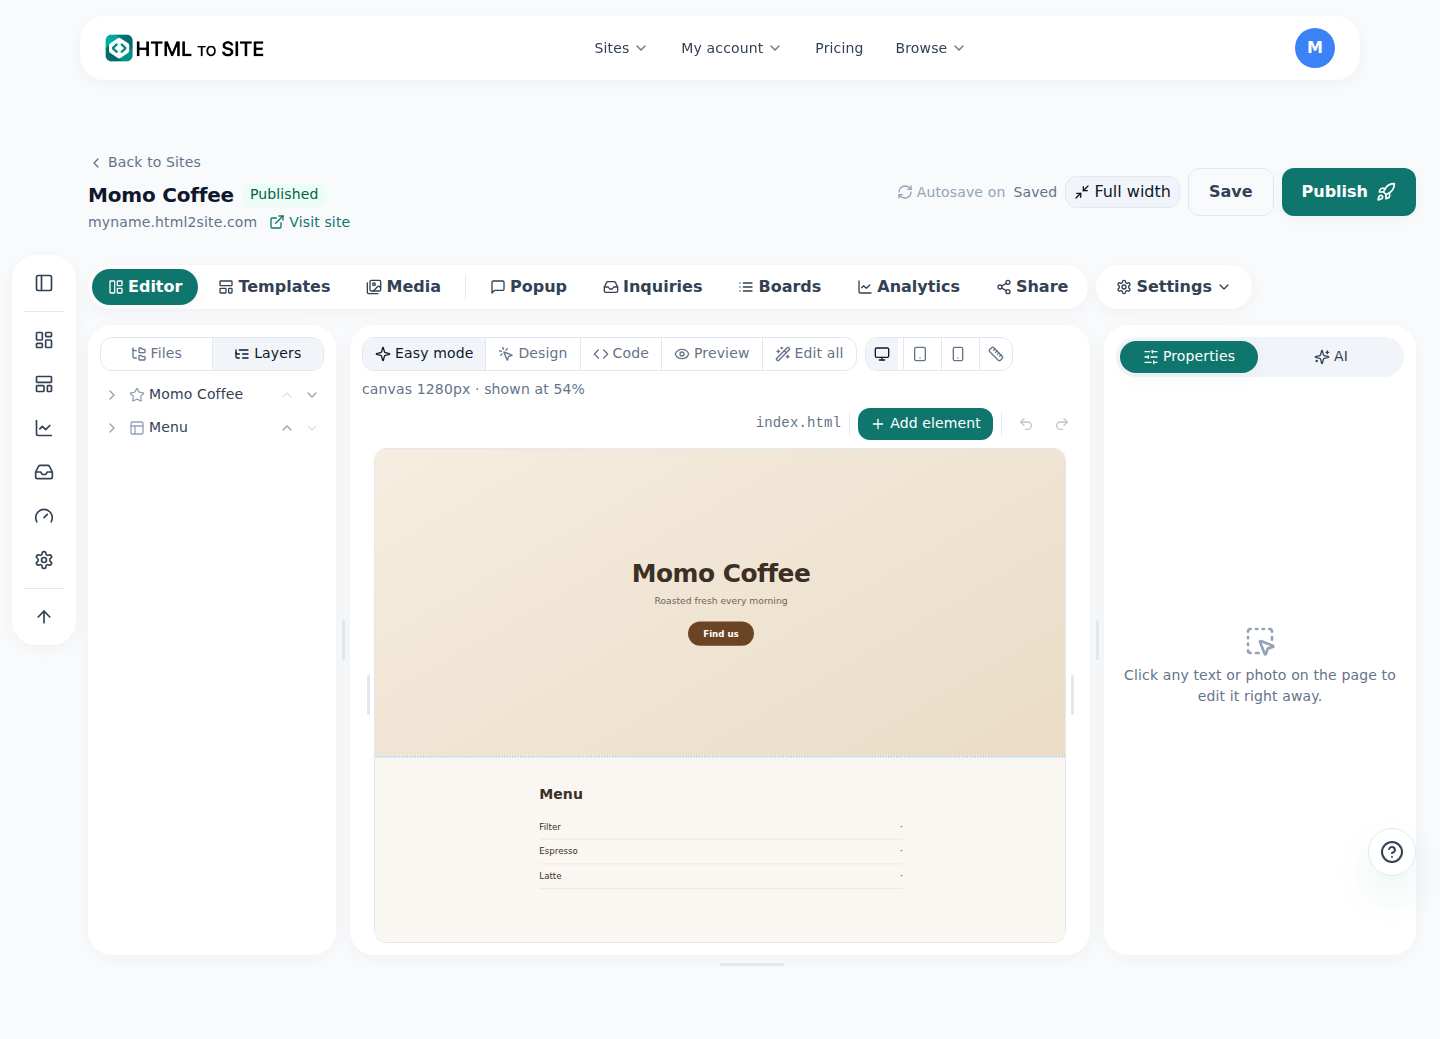
Add a file and it joins the list on the left; each file becomes a page. - 2
Images and fonts are a separate feature — free gets those too
“Multiple files” and “uploading images” are two different things. Image and font assets can be uploaded on the free plan, so a single-file index.html site can still use real photos and custom fonts. What Starter unlocks is adding more HTML files (sub-pages) — not asset uploads.
Plan comparison › File uploadsImage & font uploads Available from freeMultiple HTML files (sub-pages) Available from Starter - 3
On Starter, add pages from the editor's Files panel
Open “Files” in the side menu, click “Add file”, and type a name with an extension, like about.html. For a site like Momo Coffee, keep index.html as your home page and add about.html and menu.html alongside it. Names can't contain spaces or a parent-folder path (../), and index.html itself is already reserved as the main page, so you can't recreate it under that name.
Momo Coffee · Add file Copyindex.htmlabout.html ← new pagemenu.html ← new page - 4
Uploads are checked twice — extension and actual file content
Uploading an image or font checks more than the file extension — it also verifies the file's actual content (its magic number). That two-step check exists specifically to stop disguised uploads, like renaming an HTML file to .jpg to sneak past the multi-file limit. A genuine image or font file passes through without any extra steps on your end.
Asset uploads › ValidationCheck 1 File extension allowlist (jpg, png, woff2, …)Check 2 Actual file content (magic number)Blocked case An HTML file disguised as an image
Frequently asked questions
Can I add pages on the free plan?
No — the free plan gives each site a single HTML file (index.html). Adding sub-pages like about.html requires Starter or above.
Can I upload images on the free plan?
Yes — image and font uploads are a separate feature from multi-page, so they work on free too. A single-file site can still use real photos and custom fonts.
Can I fake a file's format to get around the page limit?
No — uploads are checked against both the file extension and the file's actual content. Renaming an HTML file to look like an image doesn't get past that check.
How many files can I have?
Starter and up all support multiple files, and the ceiling grows with the plan. Check the pricing page (/pricing) for exact numbers.
Where do I add a page?
In the editor's Files panel, click “Add file.” Type a name with an extension, like about.html, and the new page is created right there.
Read next
- Managing your sites — folders, rename, delete & recovery How to organize sites into folders, rename them, and undo a deletion within 7 days from the /sites dashboard (English)
- Show your own page on URLs that don't exist How to set a published page as your site's custom 404 — no redirect, free on every plan (English)
- Restrict access to one page (page lock) How to restrict access to a specific page with the editor's encryption tab — it's an access gate at serve time, not file encryption, available from Starter (English)
- You already have an HTML file. Here's how to put it online. Step-by-step guide to publishing an existing HTML file on a real address in 60 seconds, no server needed (English)
Trying it is faster than reading about it — paste your HTML now.