
Connect your own domain — two DNS records, then it's automatic
Last updated: 2026-08-10
Short version — open Domains under the editor's Settings menu, add a CNAME record and an ownership TXT record, and verification plus the HTTPS certificate are handled automatically from there. Add only one of the two and the connection won't go live.
At a glance
- Time needed
- About 10 min
- Plan required
- Starter
- Coding knowledge
- None
- Where to do it
- Editor
Step by step
- 1
Add the CNAME record first
Open your site in the editor, go to Settings → Domains, and enter a domain you own (say, momocoffee.com). This is a Starter-plan-and-up feature, so free-plan sites need to upgrade first. Once you add the domain, the panel shows the exact CNAME to add at your registrar — host is the name you're connecting (e.g. www), and the target is our routing address.
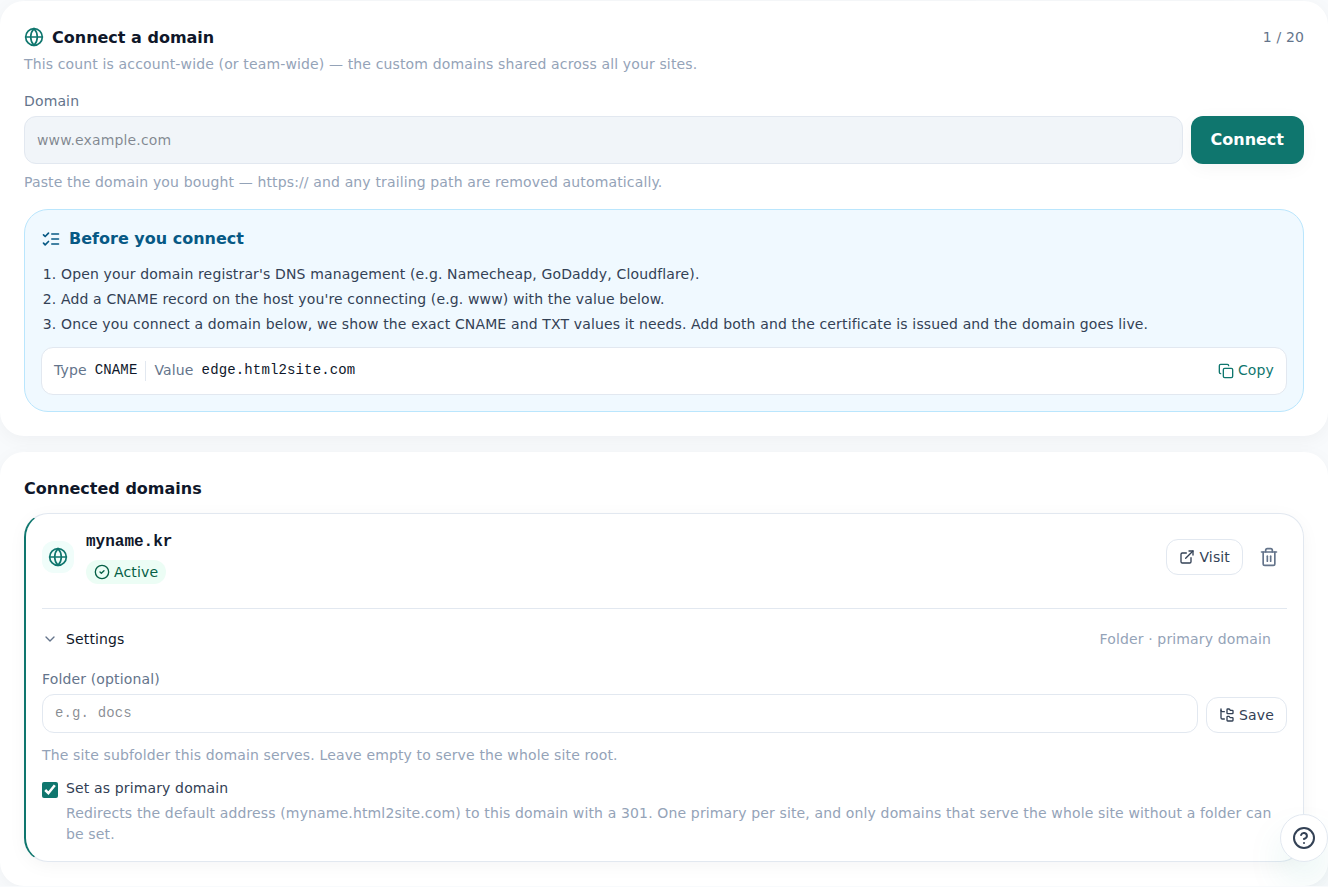
The Domains tab shows the connection status and the DNS value you need, side by side. - 2
Add the ownership TXT record too
A CNAME alone can't prove you actually own the domain, so a second record — an ownership TXT — is required. Its name is `_htmltosite.` plus your domain (for momocoffee.com, that's `_htmltosite.momocoffee.com`), and the value is a unique string the Domains panel issues for you. Add both records at the same registrar screen.
Settings › DomainsType TXTName _htmltosite.momocoffee.comValue htmltosite-domain-verification=8f2a1c93b6d0 - 3
Verification runs on its own
Once both records are in place, there's nothing else to do — the panel shows “pending” while we recheck your DNS automatically, starting with short intervals that stretch out over time. DNS propagation speed depends on your registrar, so don't worry if it's not picked up instantly — leave it, and it connects on its own once the records are correct.
Settings › DomainsCNAME record VerifiedTXT record (ownership) PendingNext check Automatic retry (intervals grow over time) - 4
Once it's done, HTTPS is automatic too
The moment both CNAME and TXT are verified, the domain goes live and an HTTPS certificate is issued automatically — no separate request needed. From then on, your site opens directly at momocoffee.com.
momocoffee.com LiveOnce connected, your domain opens with a lock icon right away — the HTTPS certificate is issued automatically, no extra steps.
Frequently asked questions
Is adding the CNAME enough by itself?
No. The CNAME handles routing and certificate issuance, but a separate ownership TXT record is what proves the domain is actually yours. Both need to be in place before verification completes.
How long does it take?
It depends on your registrar's DNS propagation speed, so there's no fixed number. We recheck automatically and repeatedly, so once the records are correct you can just leave it — no need to keep the tab open.
Do I need to request the HTTPS certificate myself?
No. Once CNAME and TXT are both verified, the HTTPS certificate is issued automatically — no request, upload, or extra step on your end.
Does this work on the free plan?
No. Custom domains are available from the Starter plan up. On the free plan, you use the html2site.com address you were given.
Can a connected domain suddenly stop working?
A temporary hiccup on the certificate side doesn't disconnect it right away. We retry automatically and it usually recovers on its own — the connection only goes away if you remove it yourself.
Read next
- Get your site found — by search engines and AI answers alike How to get a published site found by search engines and AI answers (AEO) — from Branding settings to structured data (English)
- Managing your sites — folders, rename, delete & recovery How to organize sites into folders, rename them, and undo a deletion within 7 days from the /sites dashboard (English)
- Changing your plan or canceling — what happens, and when How to upgrade, downgrade, and cancel a subscription from the Plan page — upgrades are immediate, downgrades and cancellations wait for the next billing date (English)
- How to check who's visiting your site How to read visitor analytics in the editor's Analytics tab — what each plan tier shows (English)
Trying it is faster than reading about it — paste your HTML now.